

How to Soundproof a Wooden Floor (Without Removing It)
How to Soundproof a Wooden Floor (Without Removing It)
Full structural rebuilds aren’t always possible or necessary. Here’s how a retrofit approach with resilient underlayment can meaningfully reduce noise transfer.
Why Wooden Floors Transmit So Much Noise
Wooden floor soundproofing is a common challenge in older residential buildings and converted commercial spaces, because timber joist structures are naturally efficient at transmitting impact vibration.
Every footstep, dropped object or dragged chair generates energy that travels through the wood and radiates as noise into the room below.
The Retrofit Approach: Adding Mass and Resilience
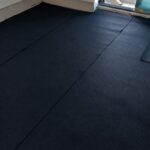
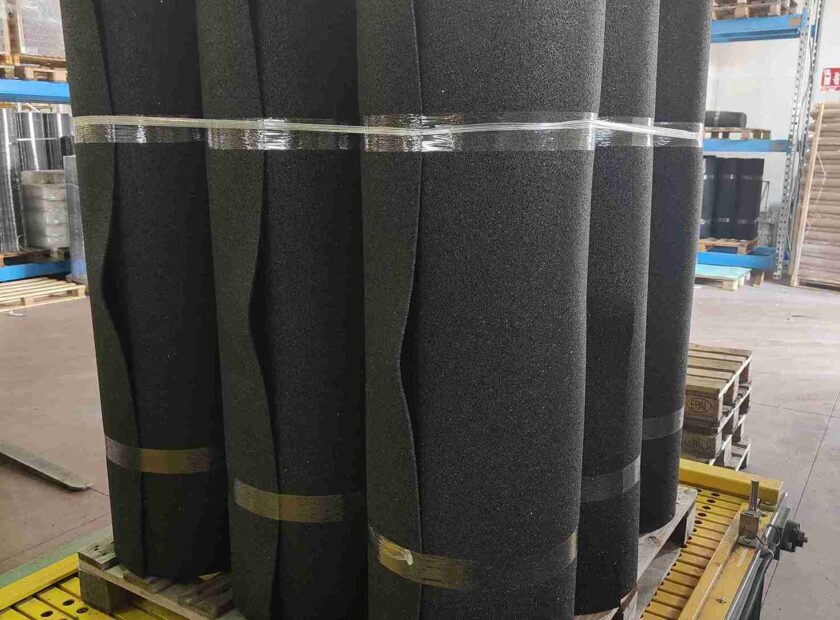
Rather than removing the existing floor structure, soundproofing wood floor projects typically add a resilient rubber underlayment layer directly beneath the new finished surface, engineered flooring, laminate or carpet.
This layer absorbs impact energy at the point of contact, before it can transfer into the joists and radiate as noise below.
It’s the single most cost-effective intervention available without structural work.
Sealing Gaps and Edges
Even the best underlayment underperforms if perimeter gaps are left unsealed.
Wooden floor noise insulation projects should always include acoustic sealant at the floor’s perimeter, around pipe penetrations, and at any transition strips.
Flanking noise through unsealed edges is one of the most common reasons a soundproofing installation fails to meet expectations.
Realistic Expectations for a Retrofit
A rubber underlayment retrofit will reduce impact noise (footsteps, dragged furniture) but has more limited effect on airborne noise (voices, music) without additional mass in the ceiling assembly below.
Setting this expectation with clients or stakeholders upfront avoids disappointment, and points toward whether a partition wall or ceiling-side solution is also needed for full acoustic control.
Step-by-Step Overview of a Retrofit Installation
A typical wooden floor soundproofing retrofit follows a consistent sequence:
first, the existing floor surface is cleaned and checked for structural issues, since any loose boards or squeaks should be fixed before adding the acoustic layer.
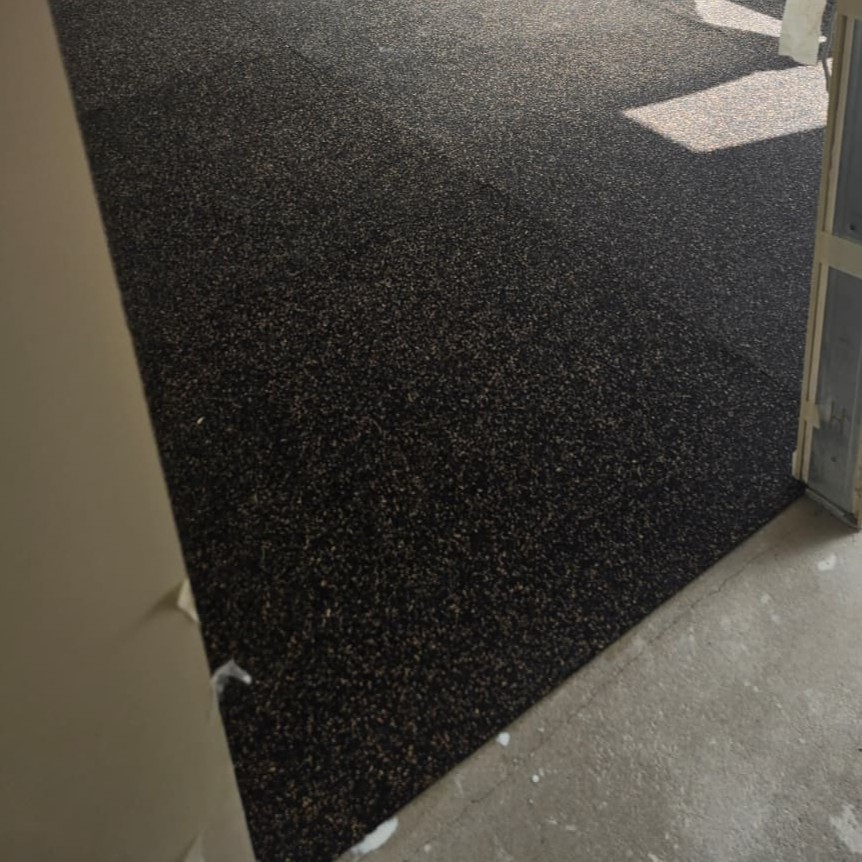
Second, the rubber underlayment is rolled out in full-contact sheets across the subfloor, trimmed to fit tightly at the perimeter.
Third, all seams between underlayment sections are taped or sealed to prevent gaps that would otherwise create acoustic bridges.
Finally, the finished flooring, engineered wood, laminate or carpet, is installed on top following the flooring manufacturer’s standard fitting method, with perimeter expansion gaps sealed using acoustic sealant rather than left open.
Timeframe and Disruption to Expect
For a typical room, a rubber underlayment retrofit adds relatively little time to a standard flooring installation, usually a half-day to a full day of extra work depending on room size and the finished flooring type being installed above.
This makes it a practical addition even to projects where a full floor replacement was already planned.
Since the marginal cost and disruption of including an acoustic layer is small compared to redoing the work later once a noise complaint has already surfaced.
Worth a look too: Soundproof Flooring Guide hub, Acoustic Rubber Cork Rolls product page and Acoustic Underlay for Carpets & Floors.